Showing posts with label php. Show all posts

A Step-by-Step Guide to Fixing the 'PHP Extension GD Disabled' Error in Drupal on XAMPP

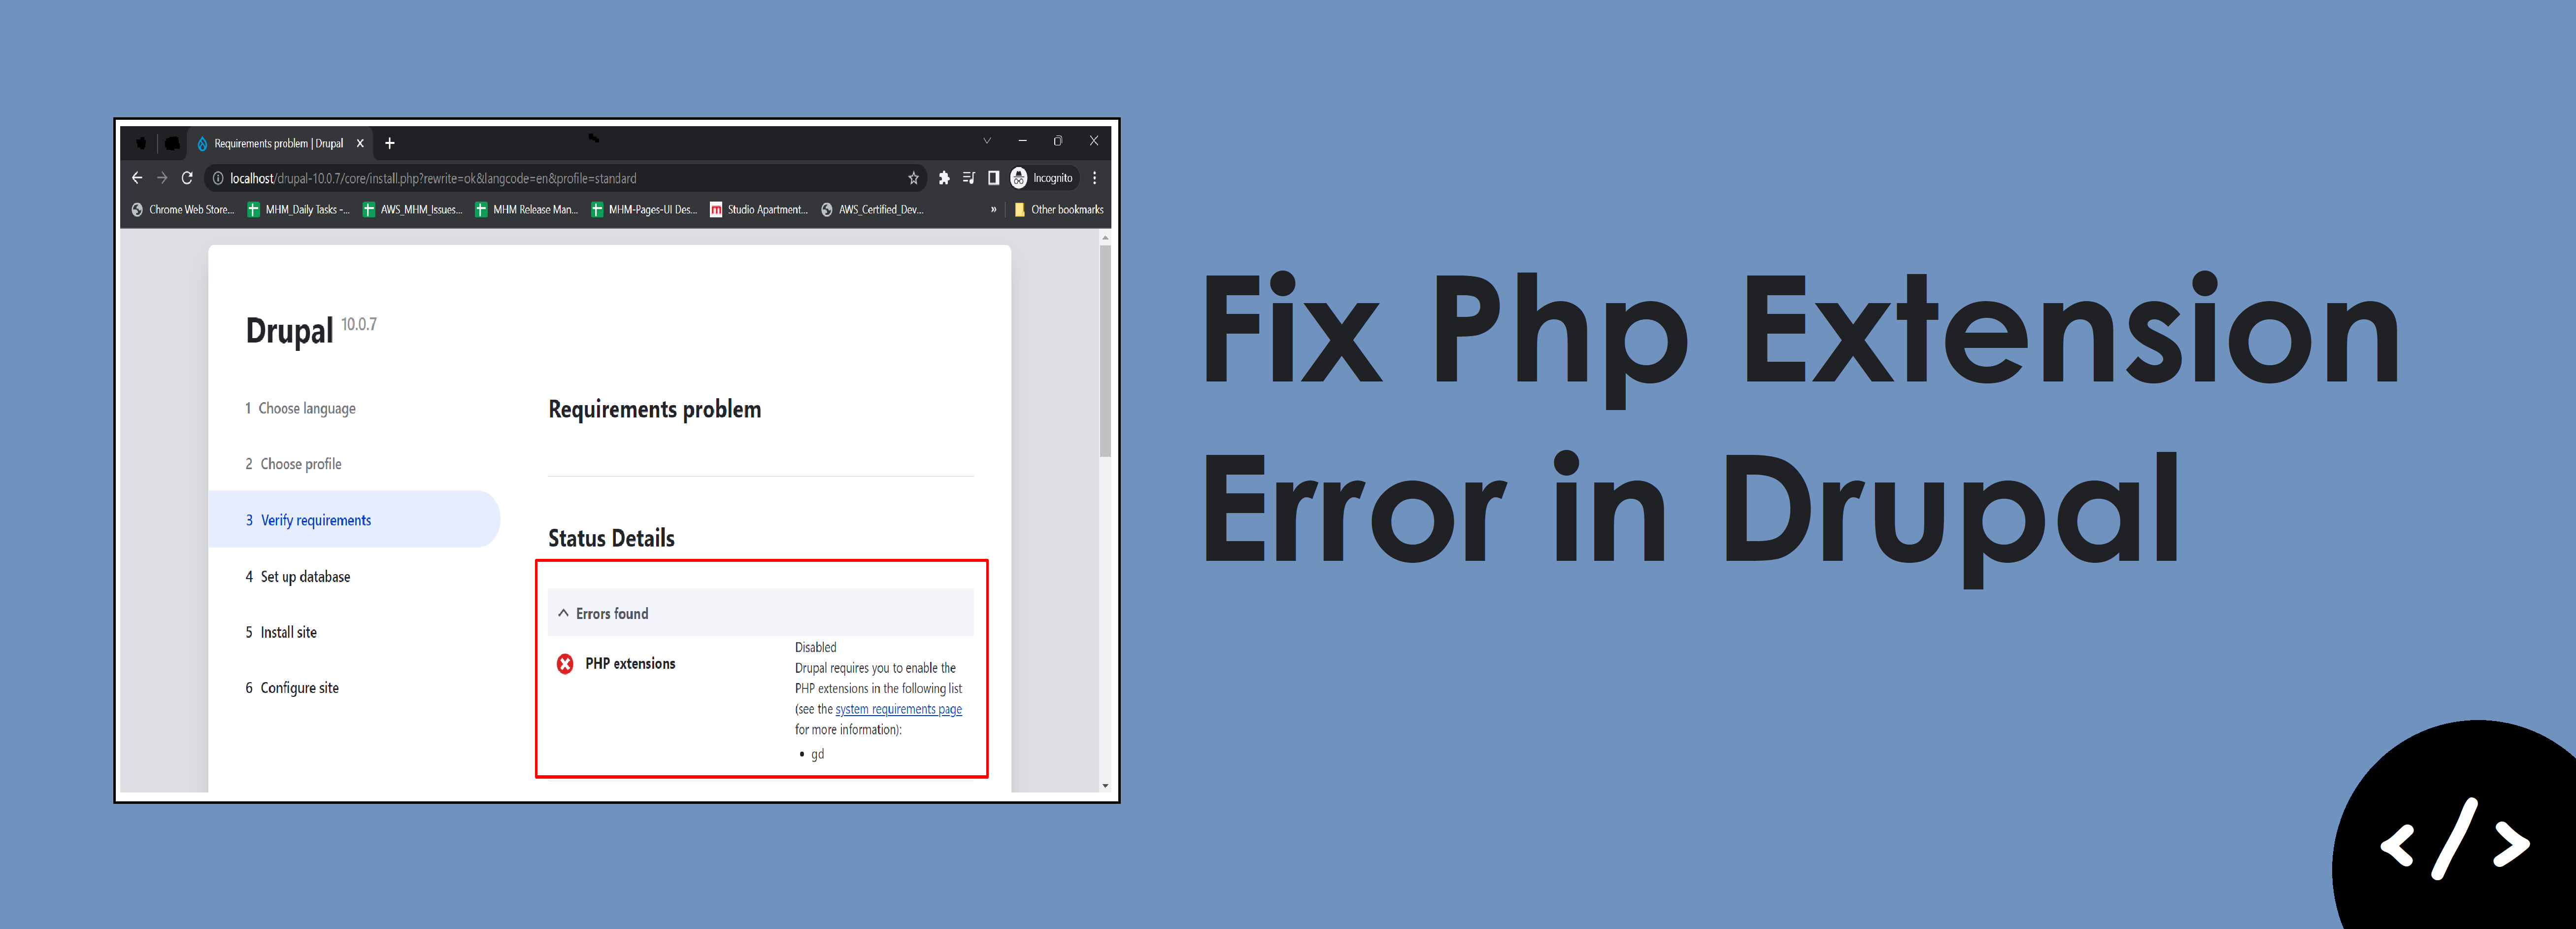
Drupal is a popular content management system that is built on PHP. It requires several PHP extensions to be enabled in order to function properly. One such extension is the GD library, which is used for image manipulation. However, sometimes the GD extension may be disabled, resulting in errors when working with images in Drupal. In this blog post, we will discuss how to fix the "php extension gd disabled" error in Drupal on XAMPP.

Step-by-Step Guide:

Follow these steps to enable the GD extension in XAMPP and fix the error:
1.    Locate your PHP configuration file: The first step is to locate the php.ini file in your          XAMPP installation. You can find this file in the "xampp/php" directory.
2.    Enable the GD extension: Once you have located the php.ini file, open it in a text editor          and search for the following line:

   ;extension=gd


This line contains the GD extension, but it is currently commented out with a semicolon. Remove the semicolon at the beginning of the line to enable the extension, like this:

    extension=gd

3.    Save the changes: After enabling the GD extension, save the modified php.ini file.
4.    Restart Apache: To apply the changes, you need to restart the Apache web server in                XAMPP. You can do this from the XAMPP control panel or by using the command line.
5.    Verify that the extension is enabled: Create a PHP file with the following contents:

    <?php
    phpinfo();
    ?>

Save the file in the "htdocs" directory in your XAMPP installation and name it "phpinfo.php". Now load this file in your web browser by navigating to http://localhost/phpinfo.php. Search for the GD extension in the output to verify that it is enabled.

Conclusion:

Enabling the GD extension in XAMPP is a simple process that can be done by modifying the php.ini file and restarting the Apache web server. By following the steps outlined in this blog post, you should be able to fix the "php extension gd disabled" error in Drupal and use the GD library for image manipulation. It is important to note that the specific steps may vary depending on your hosting environment, so always refer to the documentation or seek assistance from a technical support team if you encounter any issues.

QR Code Generation Using PHP: Everything You Need to Know

QR (Quick Response) codes are two-dimensional barcodes that can be easily scanned by smartphones and other mobile devices. They are commonly used to store URLs, contact information, product details, and other types of data. In this tutorial, we'll show you how to generate a QR code in PHP using the PHP QR Code library.

Prerequisites

Before we start, you'll need the following:

  • A PHP development environment (e.g. XAMPP, WAMP, or MAMP)
  • Basic knowledge of PHP

Installation

To generate QR codes in PHP, we'll use the PHP QR Code library. You can download the library from the official website or install it using Composer. Here's how to install it using Composer:

  1. Open your terminal or command prompt.
  2. Navigate to your project directory.
  3. Run the following command to install the library:
composer require endroid/qr-code

Generating a QR Code

Once you've installed the PHP QR Code library, you can generate a QR code using the following code:

<?php 
require __DIR__ . '/vendor/autoload.php'

use Endroid\QrCode\QrCode

$qrCode = new QrCode('https://www.example.com'); 

header('Content-Type: '.$qrCode->getContentType()); 
echo $qrCode->writeString();

In this example, we first require the autoload.php file to load the PHP QR Code library. We then create a new instance of the QrCode class with the URL we want to encode. Finally, we set the Content-Type header to the content type returned by the getContentType() method, and then output the QR code image using the writeString() method.

Customizing the QR Code

You can customize the QR code by setting various options on the QrCode instance. For example:

<?php 
require __DIR__ . '/vendor/autoload.php'

use Endroid\QrCode\QrCode

$qrCode = new QrCode('https://www.example.com'); 
$qrCode->setSize(300); 
$qrCode->setMargin(10); 

header('Content-Type: '.$qrCode->getContentType()); 
echo $qrCode->writeString();

In this example, we set the size of the QR code to 300 pixels and the margin to 10 pixels. You can also change the foreground and background colors, add a logo, and more.

Conclusion

Generating QR codes in PHP is a simple process thanks to the various libraries available. By following the examples in this article, you can quickly generate QR codes for your website or application. If you want to learn more, check out the documentation for the PHP QR Code library and experiment with the various options available.

Reference Links

How to stop VMware port error of 443 on XAMPP Control Panel v3.2.2

While starting the apache service in xampp control panel v3.2.2 shows error as below image

apache_error

To resolve this error follow steps one by one :

Step 1: 
Open Up 'httpd-ssl.conf' file by locating in 'C:\xampp\apache\conf\extra' directory or you can just open 'httpd-ssl.conf' file from xampp control panel by clicking on config button against apache service. 
httpd_conf_file


Step 2:
After opening 'httpd-ssl.conf' file look for the line 'Listen 443' by pressing 'Ctrl + f'

Step 3:
Go on that line Change port number to anything you want. I use 4440. ex. Listen 4440. and Replace every 443 string in that file with 4440.


Step 4:
After all changes done then Save 'httpd-ssl.conf' file.

 start_apache_service

If you are having any query and doubt regarding this configuration then you can ask in comments.  


Thank you !!